A: Please follow these steps:
1. Install the product's software using the CD that came with it.
2. Do one of the following:
- If you see the window below, click Next.

- If you see the window below, make sure the box next to Epson Connect Email Print is checked, then click Next.

3. Select the printer you're setting up, then click Next.

4. Select Printer Registration, then click Next.
5. Read the License agreement and privacy statement, click Agree if you agree, then click Next.
6. Click OK when you see the window below.
7. Click Sign In.
6. Enter your Username and Password, then click Sign In.
When you see the printer's email address window, the printer is now registered to your Epson Connect Email Print account.
A:
Install and run the Epson Connect Setup tool. Allow access to Epson Connect through your firewall, if you use any.

Select the printer which you want to connect to Epson Connect.

Select “Printer Registration”

Agree to the license agreement

Click OK to print the registration sheet

Printer registration in progress

The confirmation sheet is printed out. It contains your printer’s unique email address and a QR code is provided for you to easily copy the email address.

Now you have to either register for a new account, or sign in with an existing account.


Setup is done.

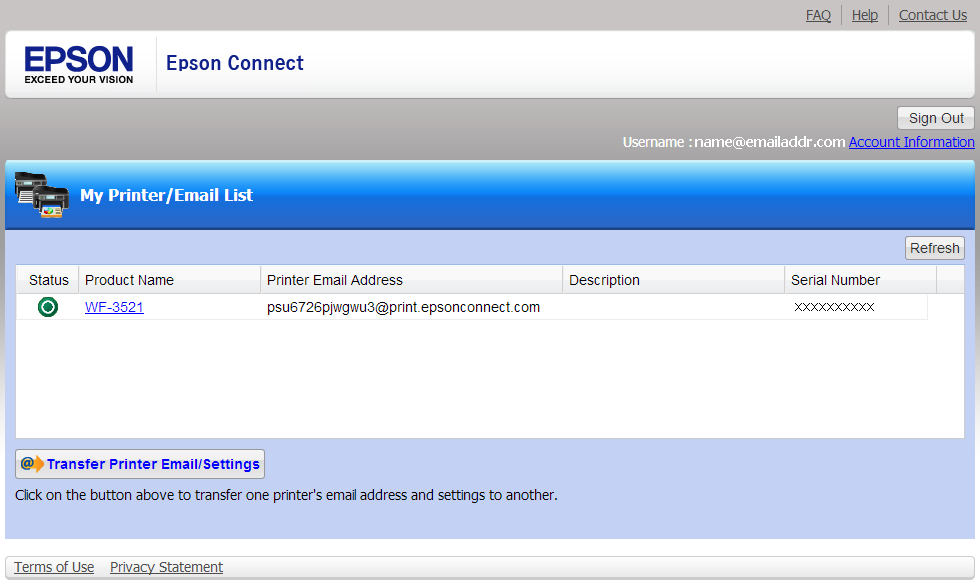
To manage your printers, you can log in to
www.epsonconnect.com using the User ID and password created earlier on.

Printer is added to the list.

A:
Download and install the Epson Connect Setup tool.

Run the Epson Connect Setup Tool.

Select the printer which you want to connect to Epson Connect.

To register the printer, choose "Printer Registration".

Agree to the license agreement.

Click "Ok" to confirm the printer registration.

Printer registration in progress.

Upon successful registration, a confirmation email is sent to you and a sheet is printed out. It contains your printer’s unique email address and a QR code is provided for you to easily copy the email address on mobile devices.


You can choose either register for a new account, or sign in with an existing account to add the printer.


Printer is successfully setup. Now you can print to the printer using email address.
To manage your printers, you can log in to www.epsonconnect.com using the User ID and password created earlier on

A: Follow the steps below to activate EPSON Scan To Cloud and Epson Remote Print.
1. Go to the EPSON Connect Sign In page, enter your Username and Password, then click Sign in.

2. If you've already registered other products with EPSON Connect, select your product in the My Printer/Email List. If this is the first product you're registering, go to the next step.

3. Select Destination List from the Scan To Cloud menu.

4. Select Add, fill out the Destination List form, then click OK.
Note: The Destination List should contain the email address of the location where you will send or store your scan. You can send the scan to an email address, an EPSON Connect printer's email address, or an Online storage service such as Evernote, Google Docs, Dropbox, or Box.net.
5. Select Print Settings from the Remote Print menu, then click the check box to Enable Remote Print if it's not already selected.
Note: You can choose to assign an Access Key, which will allow only specific users to print with Remote Print and iPrint.
